Wednesday, April 24, 2013

April Art Club Projects

I have felt badly that I seem to get lots of photos of our Sewing Club projects and hardly any of our Art Club projects.  Today I made a concerted effort to take as many photos of our projects as possible.  So glad I  did too, because (as usual) the kids' artwork was AWESOME!!

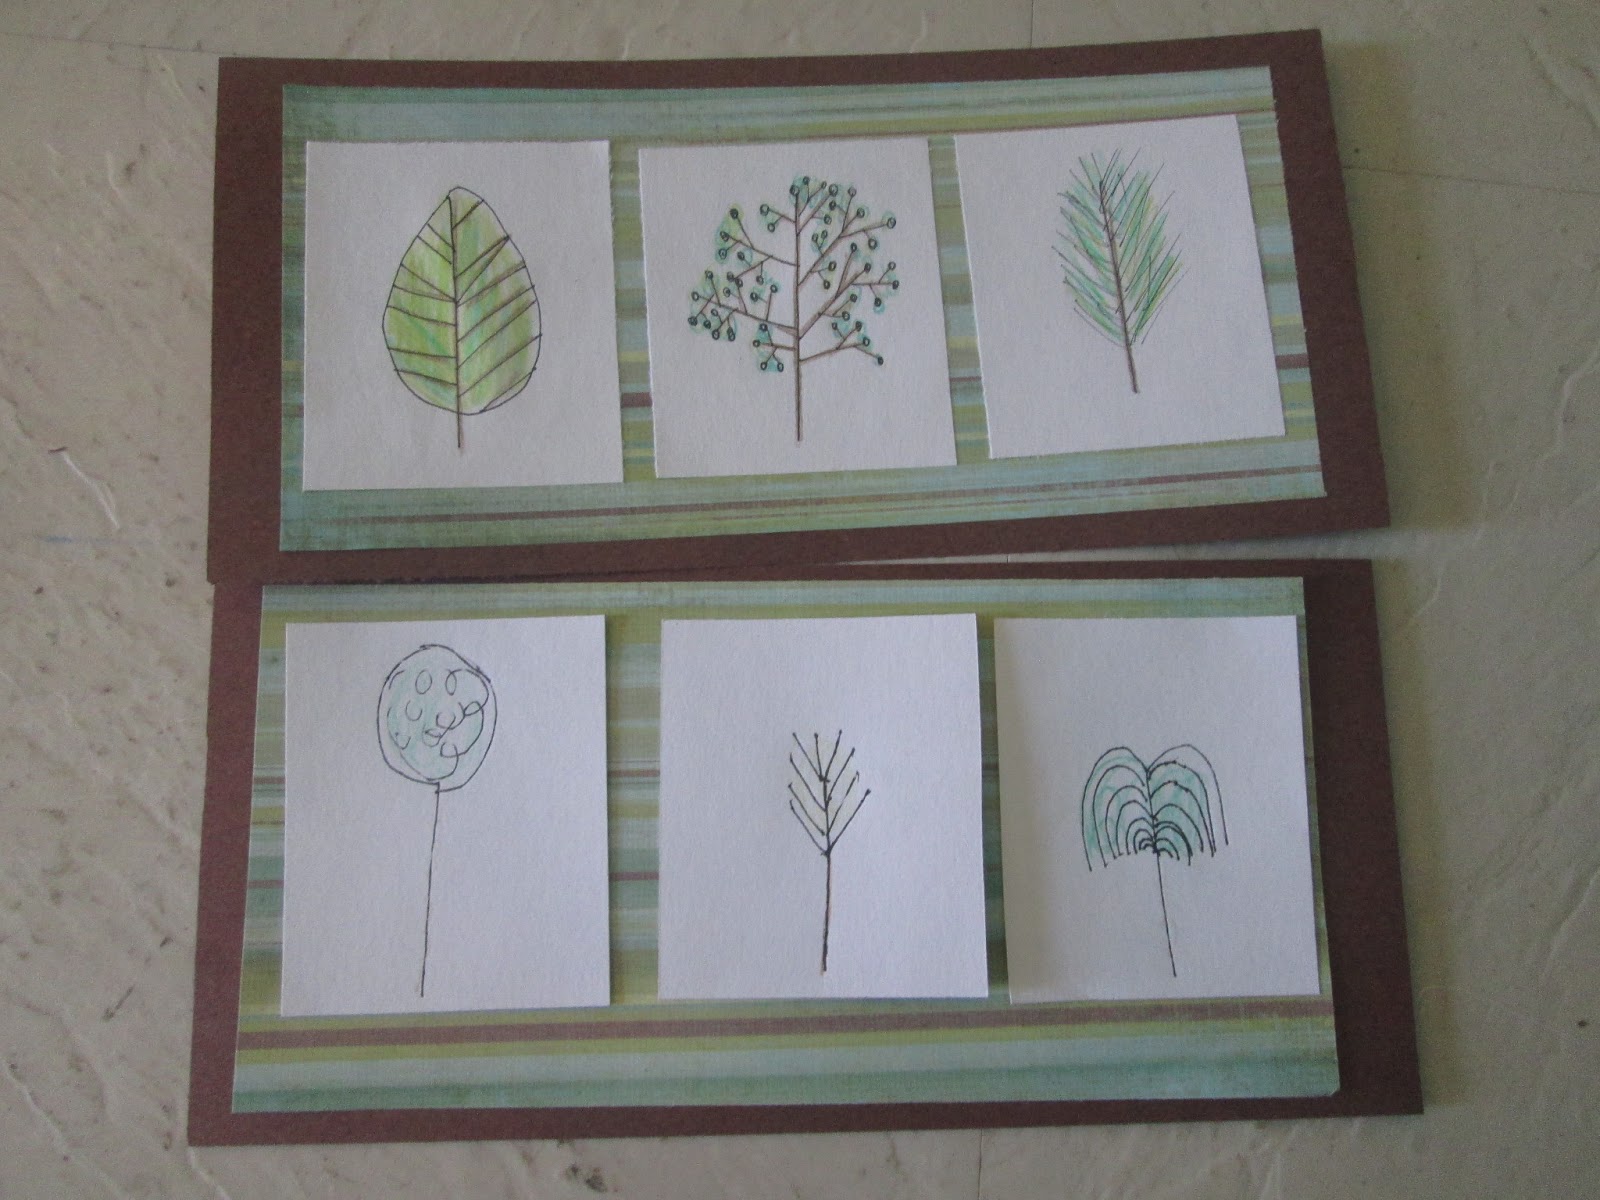
Perhaps my favorite project of the day was our "Tree Triptych" project.  Maybe I loved it so much because I came up with the idea!!  First of all, I talked to the kids about what a triptych is in art.  SEE HERE to read more about this yourself.  Quite a while back I had pinned this graphic (scroll down to see the tree graphic) with a variety of different trees, thinking I could use it somehow someday. I taped a copy of the graphic to the wall above the work station.  The kids then drew three different trees on each of three white rectangles using a fine-tipped black permanent marker.  They then added details with green and brown colored pencils.  Then they glued the three trees onto a piece of green scrapbook paper and glued that onto a piece of brown construction paper.  I love how these turned out!!


One project we did was "Plants in a Jar" inspired by THIS POST at Art Projects for Kids.  I thought the kids did a great job, and their jars turned out great.  Each one was unique; some had flowers, some vegetables; there were some with bugs and even worms in the dirt.  Here are some photos of the finished paintings that I was photograph. 


One of today's projects was "Rizzi Birds" inspired by THIS POST at Deep Space Sparkle.  I also found this variation of the project at  Holly's Art Corner and loved that it would make a perfect gift for Mother's Day with a mama and baby bird.  Before we started our work, I told the kiddos a bit about James Rizzi and his art.  We looked at the following two photos of some of his super-cool projects.  HERE is the source for the two photos below.


Following are photos of our Rizzi birds.  I LOVE THEM SO MUCH!!


Friday, April 19, 2013

Summer Camp Schedule 2013

Click on the "Summer Camps" page above to get all the details about Summer Camps at Walnut Hill Studio.  I'm excited to be offering 5 different enrichment camps this year including:  Arts & Crafts Camp, Fiber Arts Camp, Doll Camp, Builder's Camp & Writing Camp.  Should be a lot of fun!!!

Wednesday, April 17, 2013

April Advanced Sewing Club Projects

Here's what the Advanced Sewing Club gals made today at Sewing Club.  I loved the "stuffies" we made last week so much that I wanted this group to have a chance to make some too.  I love how unique each creation is and how it reflects the person who made it.  We were also trying to make "hoop" projects using buttons as flowers and embroidering the stems and leaves.  Most of the girls didn't have time to finish these before club was over so I don't have any final photos of them, just a few "in process" pictures.


Friday, April 12, 2013

March Beginner Sewing Club projects

In March for Sewing Club, our projects were Easter-themed, although the kids were wondering why I hadn't chosen to do St. Patrick's Day projects!!  I had a good reason!!  Since Easter was so early this year, our April Sewing Club would meet AFTER Easter, and I couldn't pass up the chance to make these very cute projects for Easter.

We made little Easter eggs with a hidden pocket in the back for some candy.  We used this pattern that I found via Crafty Crow.  The original pattern was made using a sewing machine, but I think our hand-stitched versions turned out just fine!

We also made carrot treat bags using a pattern I also found via Crafty Crow.  You can see the original post HERE on Betz White's blog.  She made her pouches with a sewing machine, and I just adapted the construction to use all hand sewing.  I think these turned out SEW CUTE!!!!


Thursday, April 11, 2013

April Beginner's Sewing Club

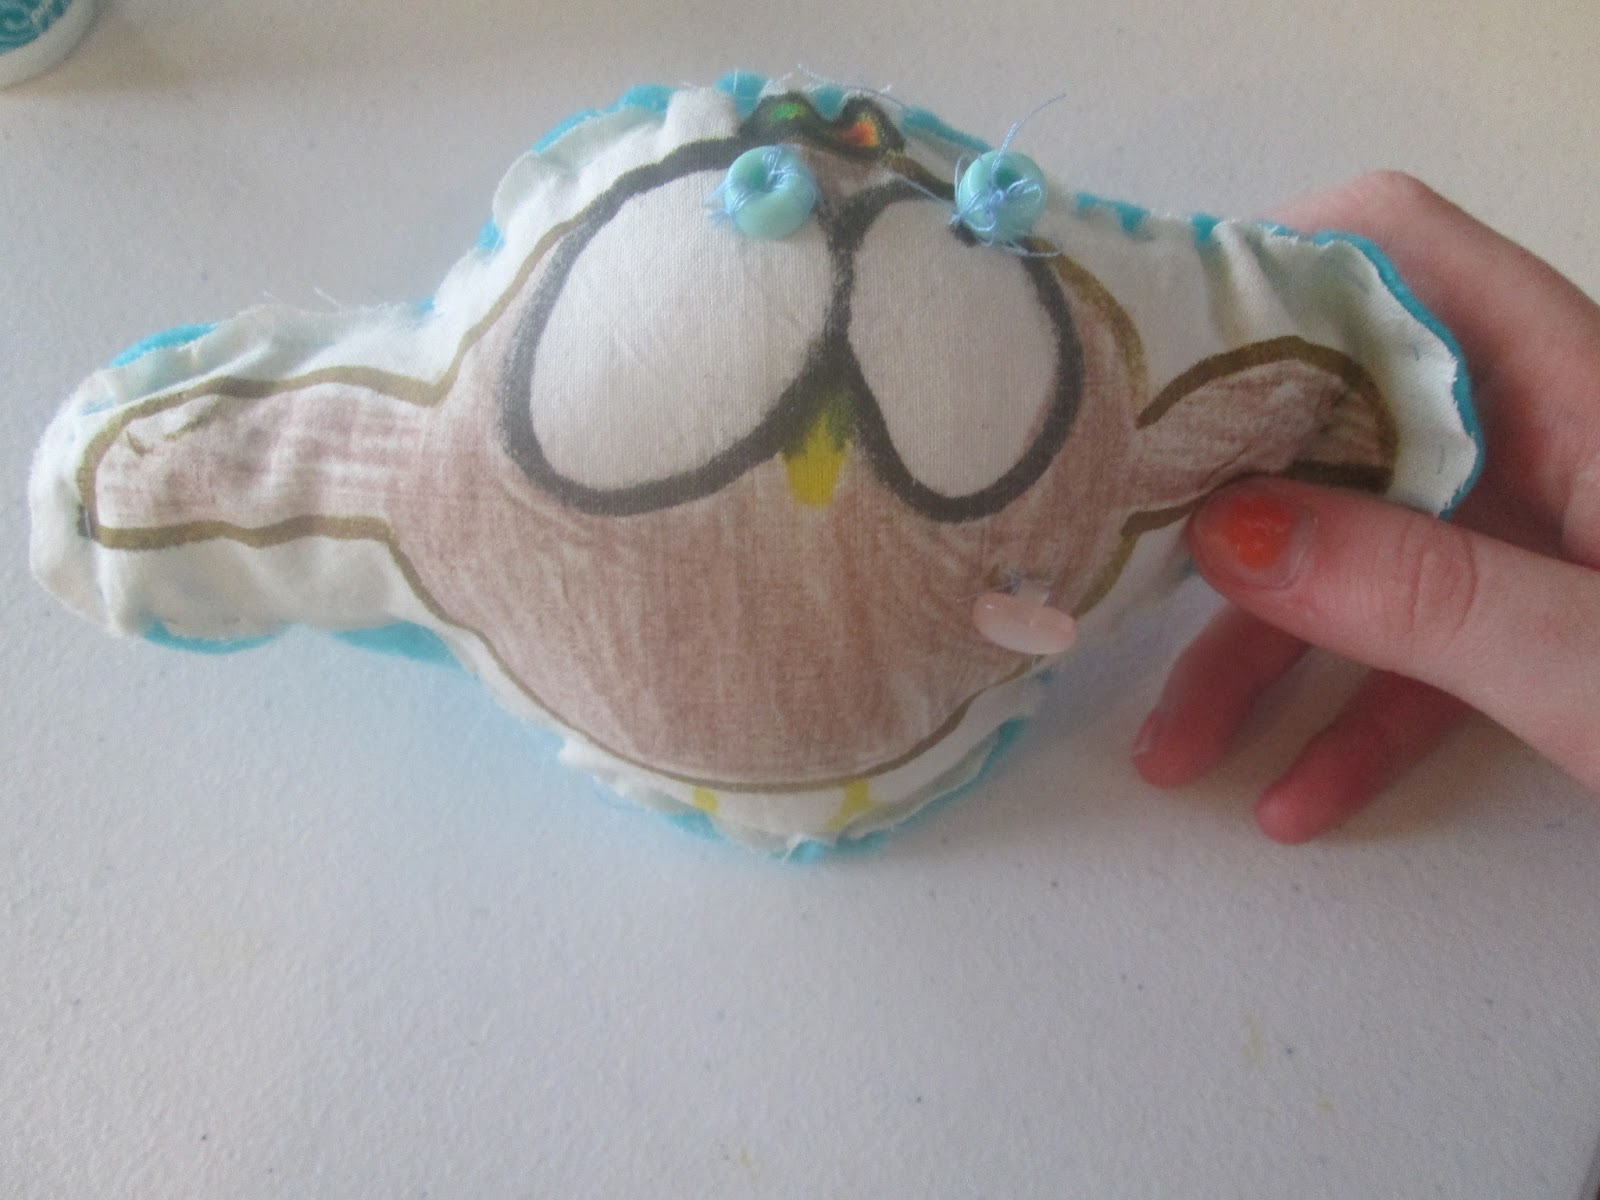
I think I am a month or so behind on posting about our sewing club projects.  Anyway, the beginner sewing club met yesterday and I was so please with how their projects turned out.  We made "stuffies" from the book Sewing School, and they turned out GREAT!!

I didn't take step by step photos, but basically, the kids drew something with pencil on paper first, then traced their drawing with a black Sharpie marker.  Then we taped a piece of muslin fabric over the drawing and they traced it onto the fabric using a fabric marker.  Finally, they colored the details with regular old Crayola crayons.  I ironed their drawings with a piece of paper on top to remove the wax and leave the color behind.  Then they chose a background  color of felt and we cut out the shape of their stuffie.  The final step (which did involve sewing!) was to sew the two pieces together and stuff.  I love how they were all really creative and each made a unique stuffie.

Several of the children also made eyeglass cases, also using the patterns from Sewing School.


Leopard


Giraffe


Shark chasing a school of fish


Monkey on a ball


Glasses case and leopard


Glasses case and flower (sorry for the orientation of the next 3 photos)


Alien


Monkey and glasses case


Creighton basketball fan

Wednesday, February 13, 2013

February Advanced Sewing Club

We had a great time today making fabulous Valentine's-themed projects in Advanced Sewing Club.  Last month's hoop project was such a hit that I decided to do another hoop project this month.  HERE is a link to my inspiration for this project.  I really loved the white flowers on the red background.  So striking for Valentine's Day.  Making the yo-yos and learning the backstitch to make the stems for this project were new skills for the girls and they learned very quickly!  I was so impressed with how well they did with this project.  Their flower hoops turned out great!


We also made little pocket pillows with a heart pocket where they can hide a "love" note to someone.  They used a running stitch to attach a felt heart, then continued with the running stitch to sewing the front and back together, wrong sides together.  I decided to have them sew wrong sides together to ensure a nice round pillow.  I have found that sewing with an internal seam (right sides together), you sometimes end up with a pillow that is a bit misshapen due to the spot where the opening is sewn shut.  Does that make sense?


February Beginner Sewing Club

This is a week late in posting as we met for February Sewing Club one week ago.  OOPS!

We made a couple of really cute projects and I was very happy with how the kids did.  For a Valentine's Day nod, we made little heart pouches.  I provided Starburst candies to tuck inside.  One little sewing clubber accurately observed that the heart "vomits" out the Starburst.  Yep, I have boys in Sewing Club this semester.  Four boys to be exact.........four silly second grade boys.  They are SO much louder than the girls.  It's quite amusing.   HERE is a link to the inspiration for the heart pouches.

We also made pillows.  We sewed them right sides together which baffled the minds of a few of them (my son included) who could not believe that we weren't doing it backwards!  Now they know that sewing right sides together allows the seam to be on the inside!!  To make these, I just traced around a plate to make two circles.  No need for a pattern for a project this simple.  They sure do love using stuffing though!  They were surprised when I kept having them put in more stuffing.  I like a nice plump pillow.  No wimpy pillows for this girl.

Here's a gallery of our creations: