Showing posts with label Beginner Sewing Club. Show all posts

Thursday, May 16, 2013

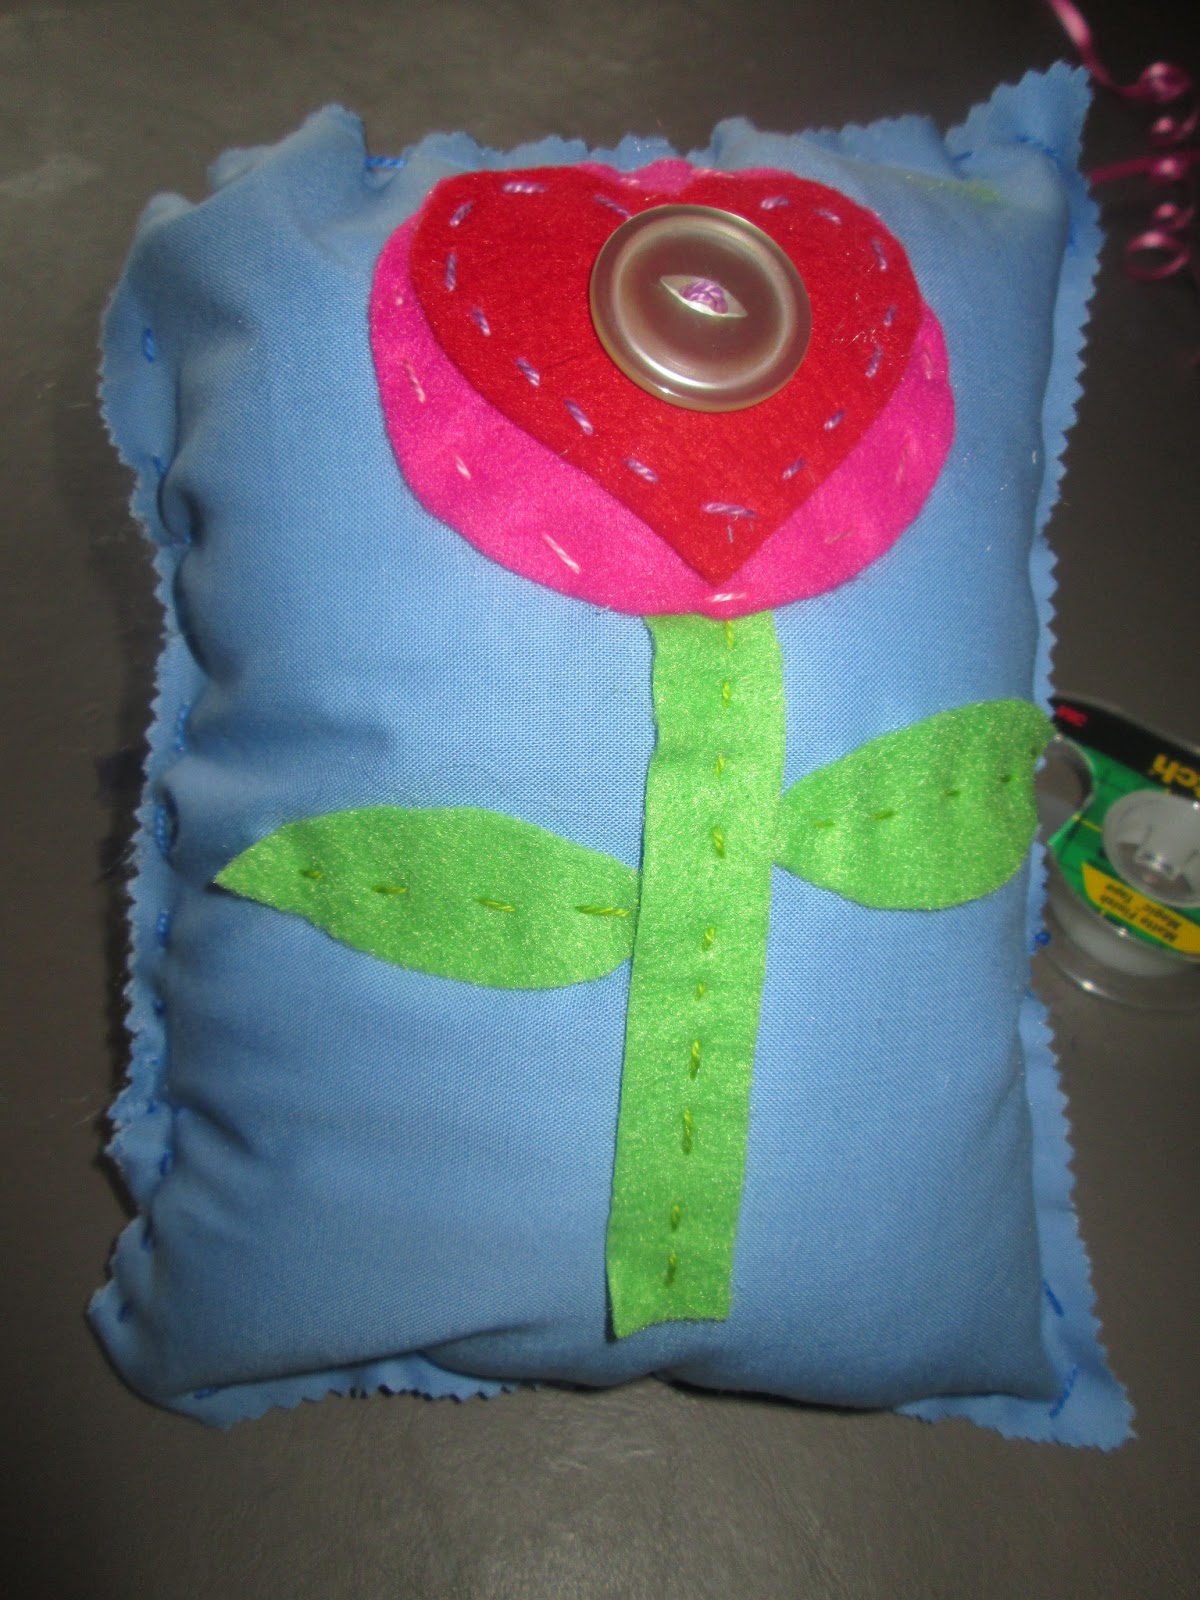
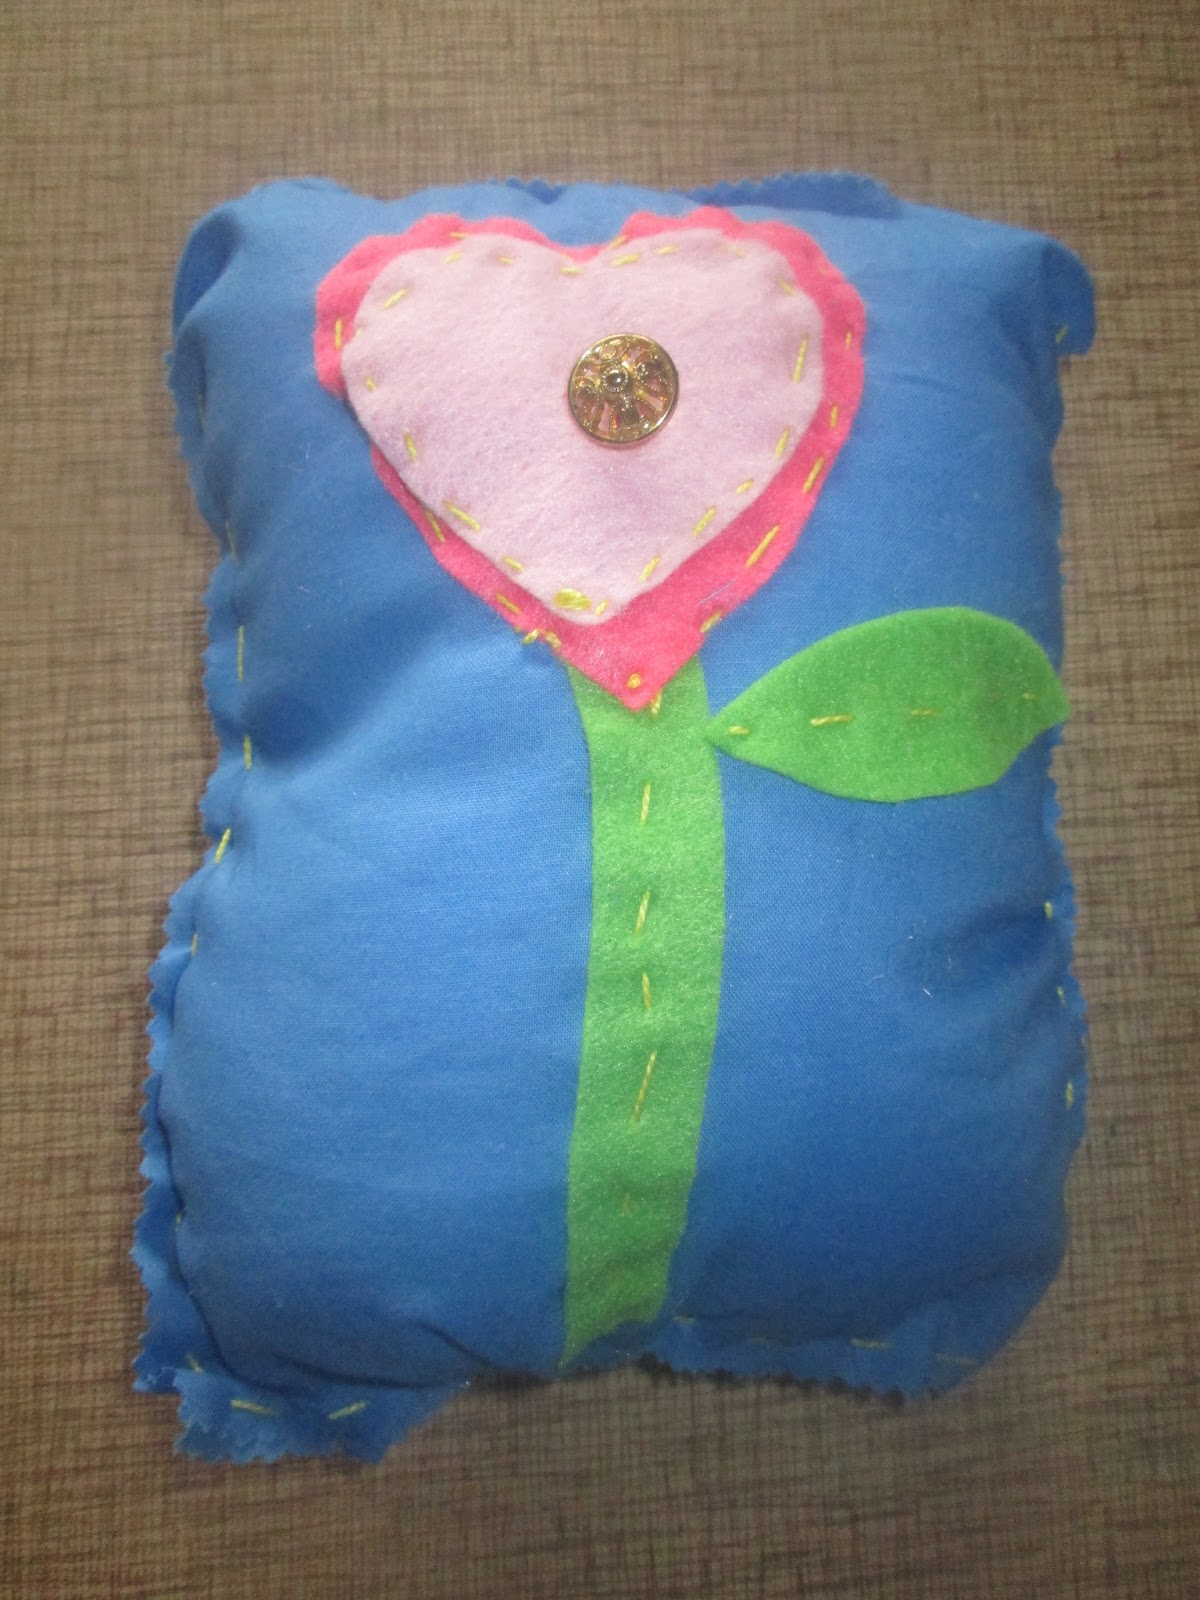
May Sewing Club Projects: Mother's Day Gifts

This month I had both the Beginner and Advanced Sewing Clubs make the same project.  We also just made one project instead of two.  They rarely have time to finish two projects at sewing club, and I wanted them to be able to have time to wrap their gift and make a handmade card to go with it.  Even with only one project, both our sewing clubs ran late this month.  I think it was worth it, however, because I've heard from a few moms that they really loved the gifts.

To prep for the project, I cut circles (two sizes), hearts (two sizes) and stems and leaves from craft felt.  The kids were able to then pick which combo of colors and shapes they wanted to use for their flower.  They sewed the flower together first, with a button in the center.  Then they sewed the stem and leaves onto the background fabric (blue cotton).  Next, they sewed their flower onto the background fabric, overlapping it a bit with the stem.  The final step was to sew the two "pillow pieces" together and stuff it.  Then we wrapped their gifts in tissue paper and tied them with curling ribbon.  They each made a special card to attach to the gift.  I thought their pillows turned out SO cute.  I tried to get photos of all of them, but I may have missed a few here and there.  Scroll down to see all the finished pillows from both groups.


Friday, April 12, 2013

March Beginner Sewing Club projects

In March for Sewing Club, our projects were Easter-themed, although the kids were wondering why I hadn't chosen to do St. Patrick's Day projects!!  I had a good reason!!  Since Easter was so early this year, our April Sewing Club would meet AFTER Easter, and I couldn't pass up the chance to make these very cute projects for Easter.

We made little Easter eggs with a hidden pocket in the back for some candy.  We used this pattern that I found via Crafty Crow.  The original pattern was made using a sewing machine, but I think our hand-stitched versions turned out just fine!

We also made carrot treat bags using a pattern I also found via Crafty Crow.  You can see the original post HERE on Betz White's blog.  She made her pouches with a sewing machine, and I just adapted the construction to use all hand sewing.  I think these turned out SEW CUTE!!!!


Thursday, April 11, 2013

April Beginner's Sewing Club

I think I am a month or so behind on posting about our sewing club projects.  Anyway, the beginner sewing club met yesterday and I was so please with how their projects turned out.  We made "stuffies" from the book Sewing School, and they turned out GREAT!!

I didn't take step by step photos, but basically, the kids drew something with pencil on paper first, then traced their drawing with a black Sharpie marker.  Then we taped a piece of muslin fabric over the drawing and they traced it onto the fabric using a fabric marker.  Finally, they colored the details with regular old Crayola crayons.  I ironed their drawings with a piece of paper on top to remove the wax and leave the color behind.  Then they chose a background  color of felt and we cut out the shape of their stuffie.  The final step (which did involve sewing!) was to sew the two pieces together and stuff.  I love how they were all really creative and each made a unique stuffie.

Several of the children also made eyeglass cases, also using the patterns from Sewing School.


Leopard


Giraffe


Shark chasing a school of fish


Monkey on a ball


Glasses case and leopard


Glasses case and flower (sorry for the orientation of the next 3 photos)


Alien


Monkey and glasses case


Creighton basketball fan

Wednesday, February 13, 2013

February Beginner Sewing Club

This is a week late in posting as we met for February Sewing Club one week ago.  OOPS!

We made a couple of really cute projects and I was very happy with how the kids did.  For a Valentine's Day nod, we made little heart pouches.  I provided Starburst candies to tuck inside.  One little sewing clubber accurately observed that the heart "vomits" out the Starburst.  Yep, I have boys in Sewing Club this semester.  Four boys to be exact.........four silly second grade boys.  They are SO much louder than the girls.  It's quite amusing.   HERE is a link to the inspiration for the heart pouches.

We also made pillows.  We sewed them right sides together which baffled the minds of a few of them (my son included) who could not believe that we weren't doing it backwards!  Now they know that sewing right sides together allows the seam to be on the inside!!  To make these, I just traced around a plate to make two circles.  No need for a pattern for a project this simple.  They sure do love using stuffing though!  They were surprised when I kept having them put in more stuffing.  I like a nice plump pillow.  No wimpy pillows for this girl.

Here's a gallery of our creations:


Wednesday, January 9, 2013

Fun times at Beginner Sewing Class

We had our first beginner sewing class of the semester today and it was tons of fun!

First off, each student received a special, handmade, personalized sewing bag with basic sewing supplies inside.  Here's a photo of the bags waiting for students to come and find them!!  I made a needle book and apple pincushion for each student and placed these supplies inside a small plastic box.  They will bring their bags and supplies to each Sewing Club class for the rest of the semester. 


Today we learned the basics such as how long to cut your thread (roughly from fingers to shoulder), how to thread a needle, how long to make the "tail" of the thread (the length of your hand), how to tie a knot, how to do the running stitch and how to sew on a button.  We practiced these skills by sewing a running stitch down a small rectangle of felt.  One student decided these could be used as bookmarks.  GOOD IDEA!!

Our two projects for the day were felt bracelets/cuffs and small felt pouches.  These simple projects allowed the kids to practice sewing on buttons and using the running stitch to make something functional.  Here are some photos of their creations: